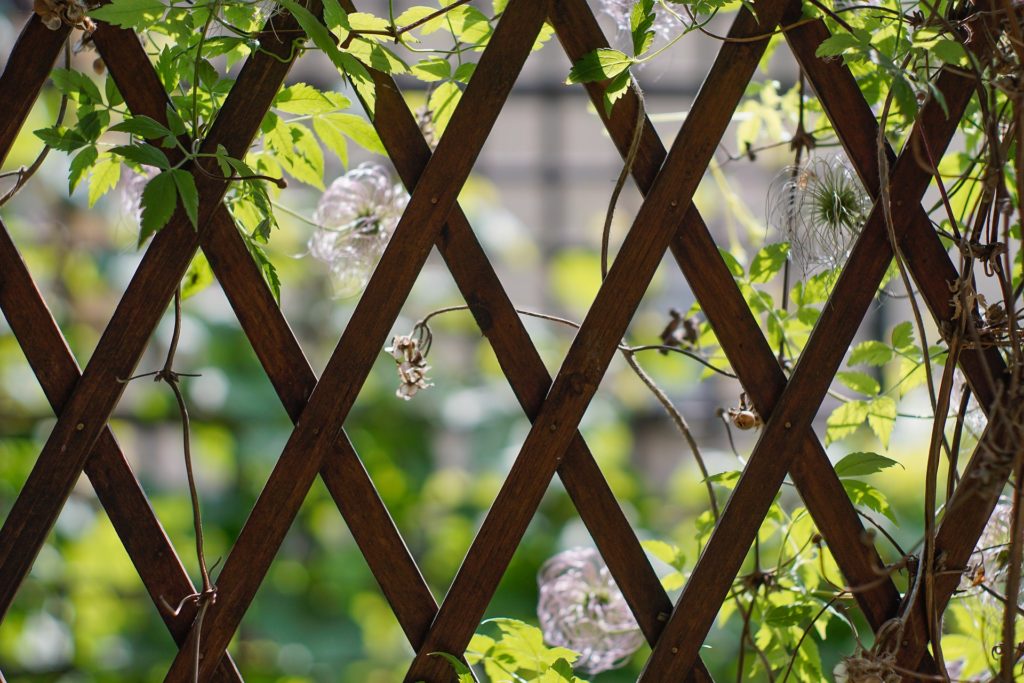
Top Tips for Installing Trellis in the Garden*
Believe it or not, trellis can be used in a variety of functional ways in the garden, depending on your unique requirements. It can:
- Hide unattractive elements like bins or a compost heap
- Support climbing plants
- Add height and decoration to an existing fence
- Divide off different sections
Even if you’re a novice, installing trellis is quite easy. Be aware that depending on how you’re using the trellis, there are different ways to install it. You must also make sure that you are equipped with the following items before you begin:
- Trellis
- Timber posts
- Power drill
- Screws
- Hammer
- Nails
- Tape measure
- Spirt level
If you’re mounting your new trellis to a wall, be sure to allow enough room for the plants to grow between the two. With that said, you’ll need to install the trellis to battens. You can use screws and wall plugs or a masonry drill to mount the battens to the wall. Of course, the number of battens required will depend on the size of the wall. Make sure the bottom batten is at least 6 inches above the ground so that it doesn’t become moist and penetrate damp into your home. This can lead to a range of health problems.
Installing trellis to the top of a fence is a similar process, though you probably won’t need battens. In fact, you might actually be able to install the trellis directly to the fence, but this depends on what your fence is like.
If you’re hoping to install free standing trellis, you might find this a little more of a challenge. It will look absolutely fantastic and make for a lovely decorative feature in the garden, but you will need to install strong posts into the ground if you want it to stand up for the foreseeable future. Don’t be afraid to speak to a landscaping professional if you require more advice on your trellis.


You May Also Like
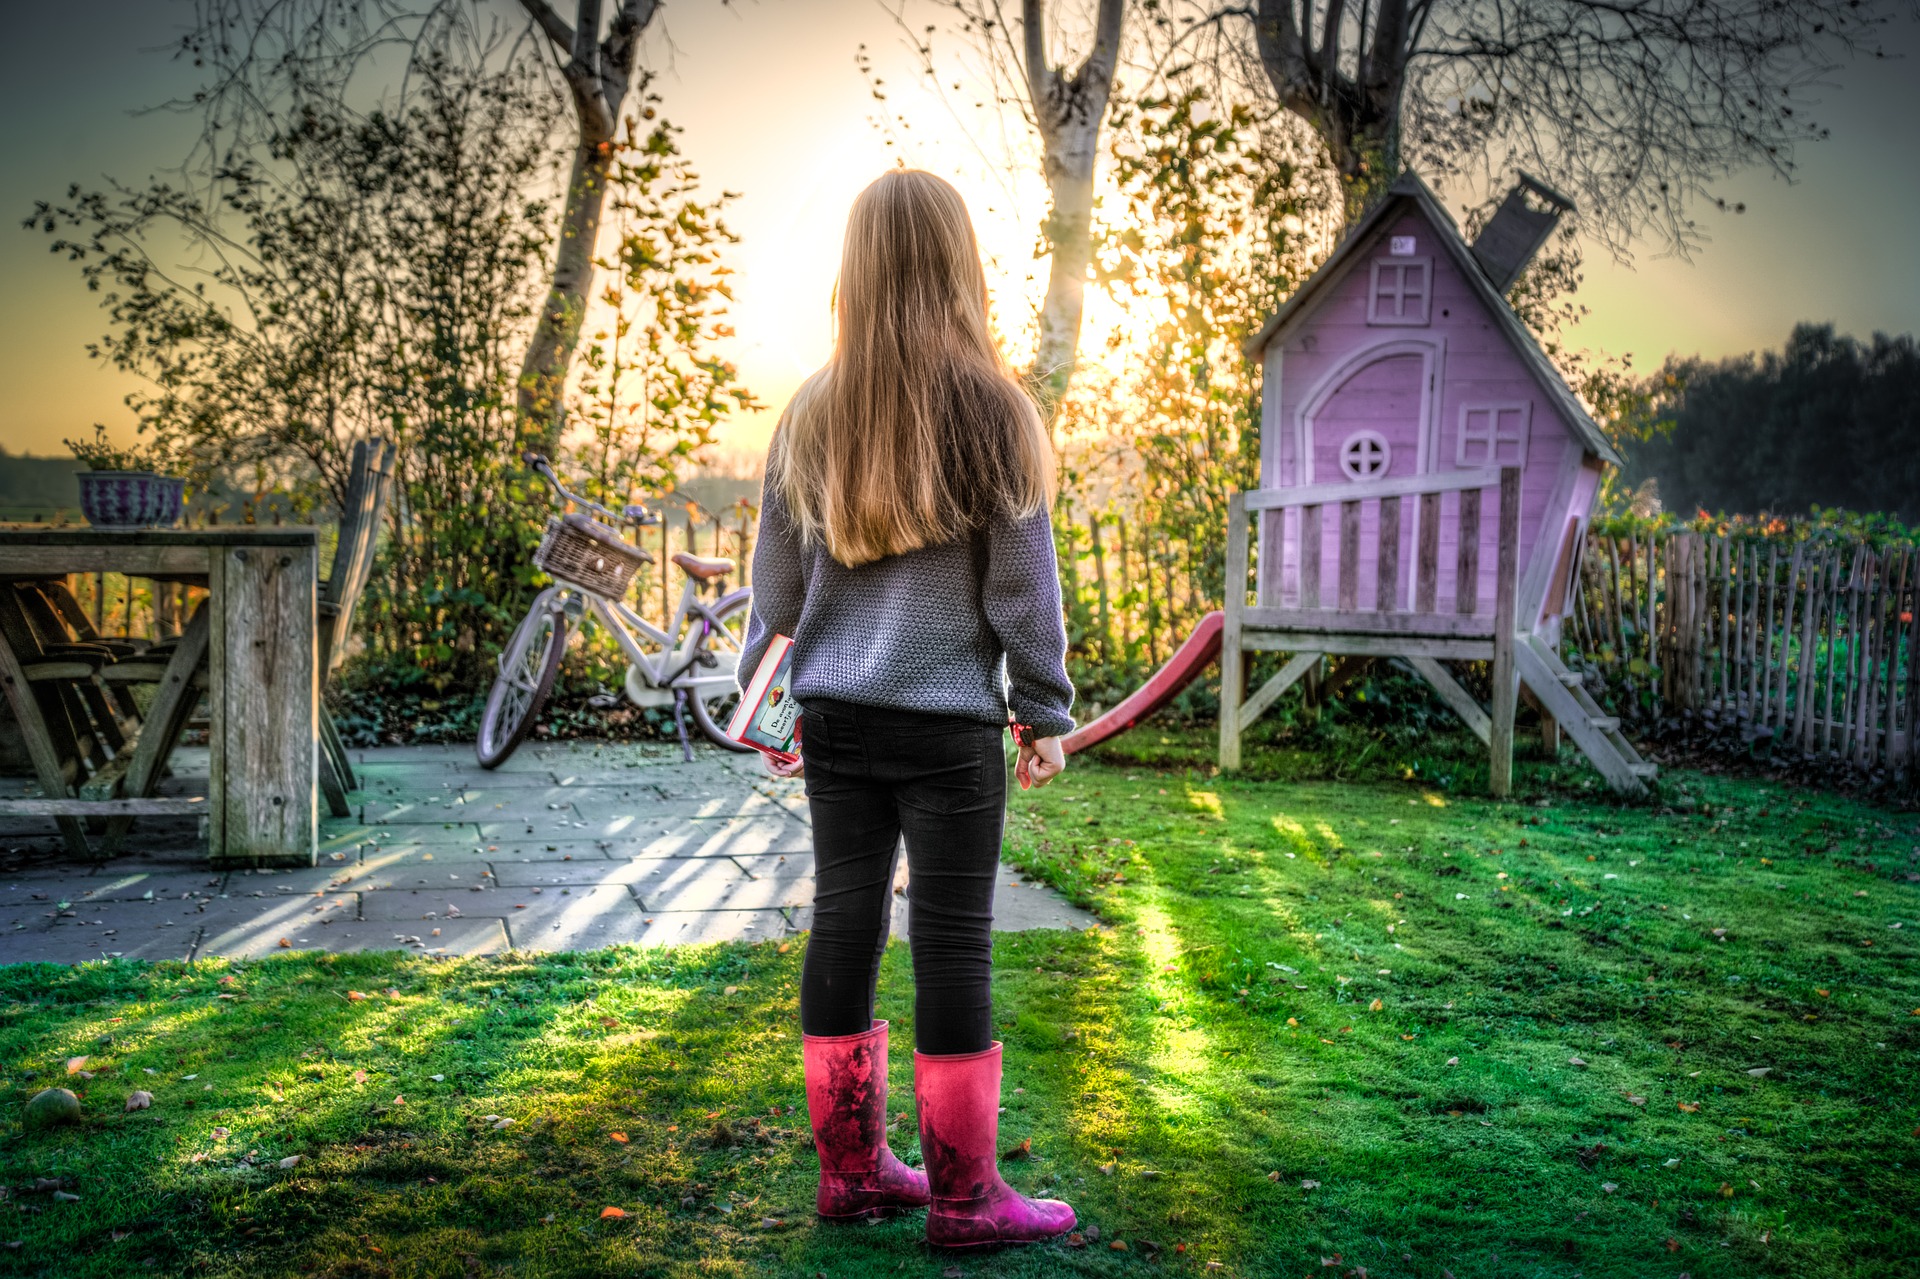
How to Make Your Garden Child Friendly*
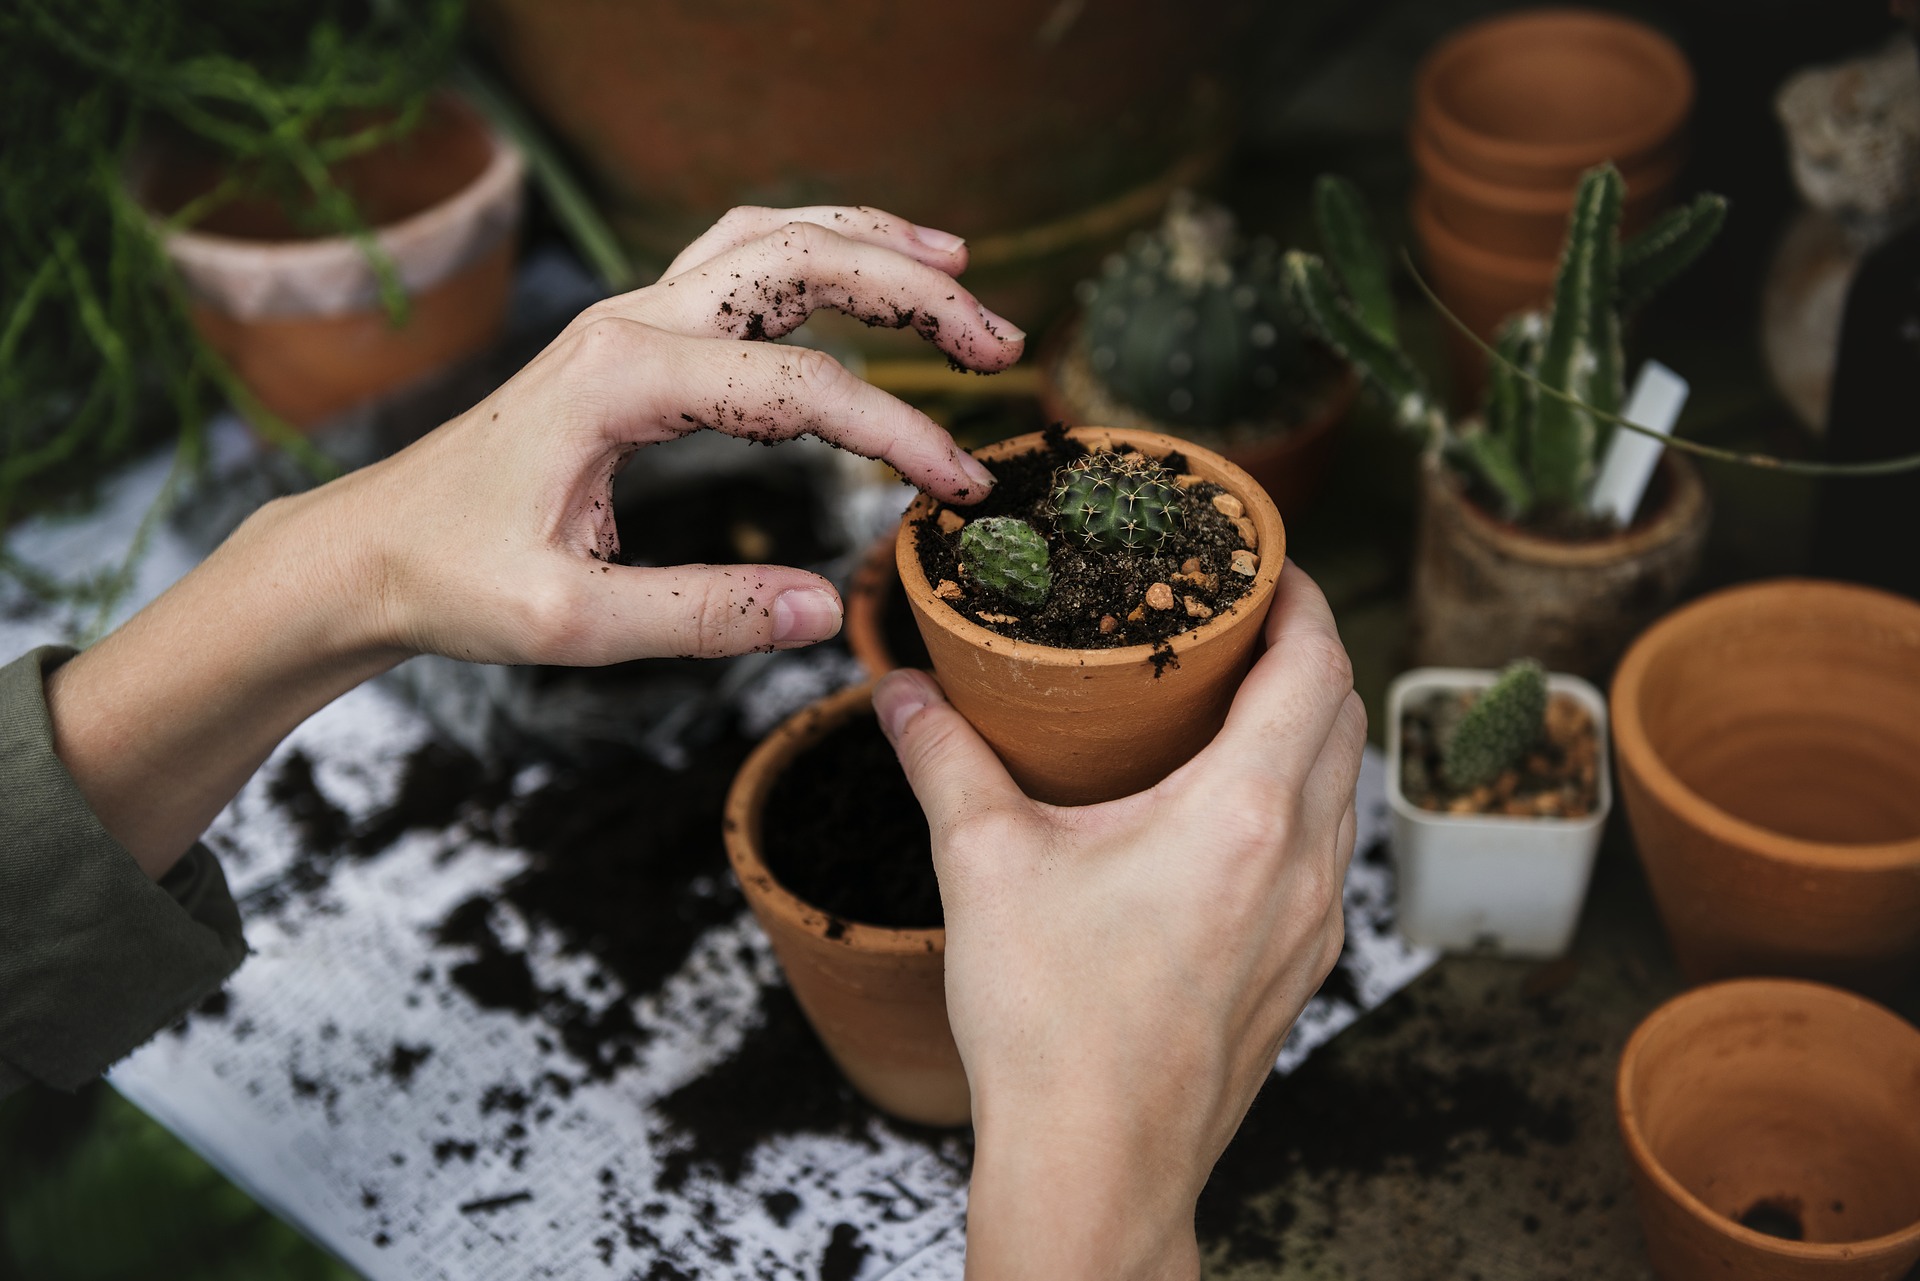
Must-Have Technology for the Keen Gardener*